We’ve all had it happen. Out and about, doing our gathered business, and suddenly... your pants rip. Or your top button pops off. Or you’re needed as a last minute guest on Ellen. Your nail chips, snags, or pops off. You spill chimichurri sauce on your brand new one-of-a-kind vintage shop top. These, my dears, are fashion emergencies. Yes, I provided a lot of examples. Yes, from mostly from personal experience. Don’t judge me. Learn from me.
On this very fierce fashion Friday I am going to give you a step by step guide to building a personal fashion emergency kit. Filled with myriad items, some you probably have lying around the house, some you don’t, this baby can bail you out again and again in life, and I’m of the opinion that every gathered woman should have one or two fashion emergency kits lying around. Whether you’re a power professional, a mom, a socialite, an activist, emergencies arise.
So what are some super smart and savvy uses for your custom emergency kit?
- In your purse or tote. Duh!
- At work. No more leaving work in a panic or begging the office rival for a tampon.
- In the car. If you’re a fashionista on the go, you probably spend a lot of time driving.
- Travel. Going on a trip? Place in your carry on with a sigh of relief.
- Special occasions. Getting married? Dance performance? Public speaking engagement? Do you really want to be unprepared for the unexpected?
- Moms, teachers. You know what terrors await. Be prepared. Hear my battle cry!
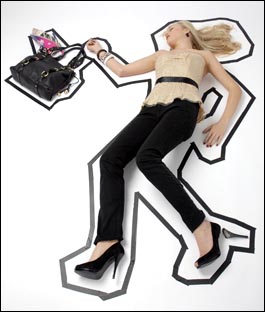
I think I’ve made my point. You can use this! So pay attention. Or you will look like this...
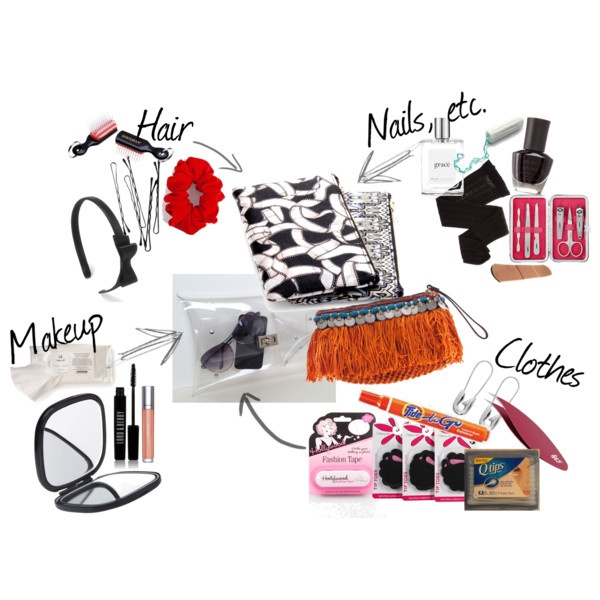
1. Find a cute bag. Not too large, definitely not too small. Although you’re going to pack this bag full of stuff, it’s going to be small or trial-sized amounts of the things that you need. A clear bag or one with tiny compartments is nice, if you’re the organized type or forgetful of what you’re tossing in the bag. For my travellers, a clear bag is also a bonus because you can just toss it on the belt in the airport security line and it’s compliant with TSA regulations.
2. Make a List. Check it twice. The key to a really awesome kit is putting a bit of thought into it. This step is the most important because you have to start with thinking of the purpose of this kit. (Use the list above.) For the purposes of showing what it’s all about, I will use examples of what I stock in my own little bag of wonders, but feel free to personalize and be creative.
General
- compact mirror
- extra pair of tights or panty hose (if you wear them)
- trial size perfume
- tweezers
- 5 q tips
- 5 cotton pads or balls
- 2 pantiliners
- 2 tampons
- small pack of tissue
- 4 aspirin or other pain killer (tylenol, excedrin, etc)
- 1 alka-seltzer
- any emergency meds (inhaler, benadryl, insulin, etc)
- bandaid
- antiseptic pad
Hair Emergency
- 5 bobby pins
- scrunchie or 2 elastic bands
- trial size or travel container hair gel (or any other essential hair product)
- headband
- mini hairbrush
Clothing/Shoe Emergency
- 5 safety pins, varying sizes
- sewing kit
- stain remover pen
- febreeze
Makeup Emergency
- makeup remover wipes
- nude lip gloss
- black eyeliner
- mascara
Nail Emergency
- nail file or mini nail kit
- polish remover wipes
- 1 bottle clear or black polish
3. Toss it in. Zip it up! So this is the part where you get it all to fit in the bag. Remember, you don’t need full packages of these things. You really only need to include enough for 1 or 2 pinch uses. I suggest you make multiple kits at once and put them in different places.
Last tip: I suggest you restock the kit with the thing you used at the first opportunity. Otherwise, your kit will run low on certain things, and you will be "caught out there" like Kelis. You have been warned.